The Dark-Sky Myth: More Darkness Is Not the Whole Story
Dark-sky observing is not just about escaping city lights. Learn how contrast, eye adaptation and realistic expectations shape what you can find.
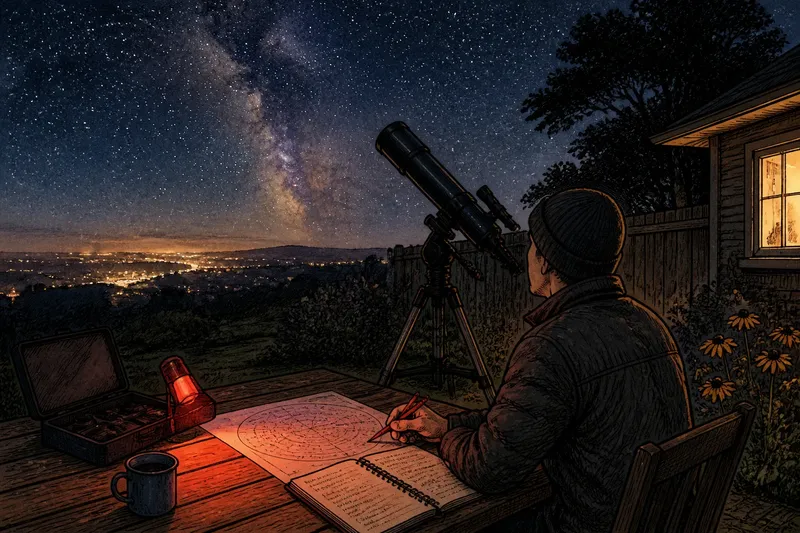
The most common dark-sky mistake is to assume that a darker-looking location makes every target easier to find. That assumption can cost an evening to frustration: a faint galaxy may gain contrast, while a bright planet or familiar star pattern becomes less convenient to locate without nearby landmarks or a settled view of the sky. Dark-sky observing works best when you choose an approach for the object, your eyes and the conditions—not darkness alone.
Three approaches help make that choice: seek the darkest practical site, observe from a familiar and controlled spot, or let the target and your eyes decide how much adaptation is useful. They are not rival doctrines. Each suits a different kind of session, and each has limits.
Darkness helps faint objects by improving contrast
Contrast is the difference between an object and the sky behind it. A faint nebula or galaxy can be present above a bright suburban street and still be hard to detect because scattered artificial light brightens the background. Moving to a darker location can make the sky background look darker, allowing a dim object to stand out more clearly.
That improvement is not the same as making the object brighter. The object’s light has not changed; the surrounding sky has become less intrusive. Think of reading charcoal lettering on paper: a cleaner page helps the letters separate, but it does not darken the charcoal.
The benefit depends on what you are trying to see. Faint extended objects are especially sensitive to a bright background. A bright star or planet can remain easy to see from a less dark location, though nearby glare may still interfere with comfort and detail. A dark site is valuable, but it is not a universal setting that improves every view by the same amount.
Choose among three observing approaches
Travel to the darkest practical site
This approach suits observers seeking dim galaxies, nebulae, or a broad view of the Milky Way. A location away from direct lamps and the glow of a town can provide a darker background, while an open horizon may make more of the sky accessible. The trade-off is practical: travel, unfamiliar surroundings, and the need to find targets without the same nearby reference points you have at home.
Darkness also does not remove cloud, haze, or local light sources. A remote field with a bright security lamp nearby may be a poorer place to settle than a less remote spot shielded from direct glare. Judge the view you actually have, not the reputation of the location.
Observe from a familiar, sheltered spot
A backyard, balcony, or quiet local park can suit sessions focused on bright targets, learning the constellations, or getting comfortable with a star map. Familiar trees and rooflines can help orient you, and you can return to the same spot without turning an ordinary observing night into an expedition.
Nearby lamps are the main drawback. A porch light or illuminated window can make it harder for your eyes to settle, even when the sky itself is reasonably clear. Choose a place where direct lights are blocked, and note which parts of the sky remain visible. A familiar location is useful because it supports repeatable comparisons, not because it turns a bright sky into a dark one.
Match adaptation to the target
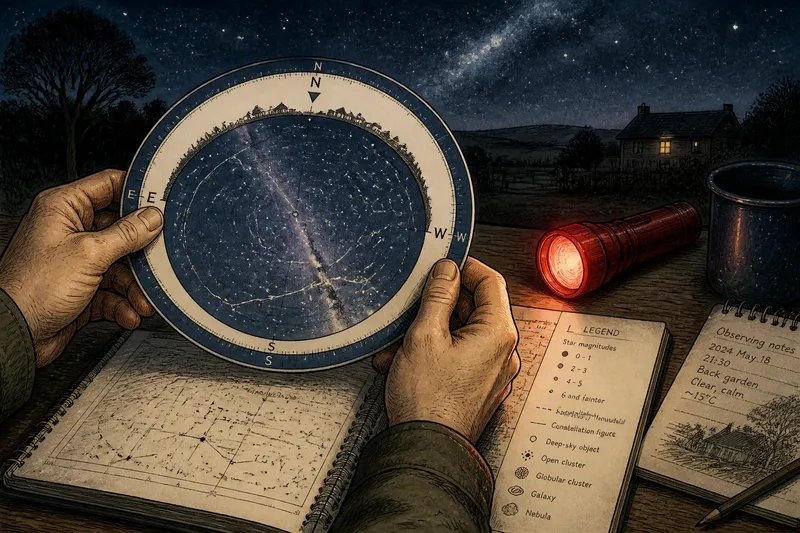
This approach suits mixed sessions in which you might look at a bright planet, consult a map, then search for a faint object. After time away from bright light, your eyes become more sensitive to dimmer detail. A phone screen, white flashlight, or quick look into a lit room can undo some of that adaptation, so use a dim red light for charts when practical and keep it pointed down.
There is no need to treat full adaptation as a ceremony. Bright targets do not require the same sensitivity as faint ones, and reading a chart may call for enough light to see it clearly. Adaptation is a useful adjustment, not a test of seriousness.
Use expectations as part of the observing setup
A drawing or photograph can create an unhelpful mental picture. Images may combine light from an extended exposure, while the eye sees a dim object in real time. A nebula that appears richly colored in a photograph may look like a subtle gray patch at the eyepiece. Knowing the object’s position and approximate shape is more useful than expecting the view to resemble an image on a screen.
Expectations affect how long you look and what you count as a sighting. If you anticipate a crisp, obvious outline, a faint patch may be dismissed as imagination. Instead, note what you can honestly distinguish: a slight brightening, an oval smudge, or no clear detection. A modest description is not a failed observation; it is a record of what the conditions allowed.
Say you are at a familiar backyard and want to find a faint galaxy after looking at a bright planet. You put the phone away, give your eyes a quiet interval, and use a dim red light to check a paper chart. If the galaxy remains indistinct, you record the attempt and the sky conditions rather than insisting that it must be visible. The observable result may be a more reliable record, even if the object itself never resolves into a clear shape.
Keep a record that separates sky from perception
Simple notes can help distinguish a genuinely poor sky from an unfamiliar target or an expectation set too high. Record the date, approximate time, location, target, nearby light conditions, cloud or haze, and whether you had just looked at a bright screen or lamp. Add a short description of what you saw, including uncertainty.
- Write down the target before searching, so recognition does not turn into wishful naming.
- Describe the background as bright, moderate, or dark relative to your usual observing spot.
- Note direct glare separately from the general glow of the sky.
- Record whether the target was easy, intermittent, or not detected.
- Compare later observations made with similar viewing conditions rather than treating every night as equivalent.
These notes are not a precision instrument. Their value is that they keep several causes apart: sky brightness, stray light, adaptation, familiarity, and expectation. If an object is easier on a later night, you can ask which of those conditions changed instead of crediting darkness by default.
Which approach fits your next session?
Does a darker sky make every object look brighter?
No. A darker background can improve the contrast of faint objects, but it does not increase the light coming from the object. Bright targets may already stand out well, and glare, haze, or an obstructed view can still reduce what you notice.
How long should your eyes adapt?
Allow a quiet period away from bright light when you are seeking faint detail, and avoid repeatedly checking a bright screen. The useful interval varies with the person, the target, and the interruptions; there is no single waiting time that applies to every session.
Is a backyard good enough for skywatching?
It can be, especially for bright objects, constellation practice, and learning to use a chart. Shield yourself from direct lights and treat faint targets as more demanding rather than assuming the location is useless.
Why can a famous object be hard to see?
Familiarity with an object’s name does not make its light stronger, and photographs may set expectations far beyond what the eye sees. Check its position, reduce nearby glare where practical, and describe the actual view without forcing it to match an image.
Choose the least demanding useful setting
For faint deep-sky objects, a genuinely darker site is often the better choice, provided it is practical and the sky is clear. For bright targets or learning the sky, a familiar sheltered spot may be more useful. For a session that moves between targets and charts, protect your adaptation enough to see dim details without treating every brief use of light as a disaster.
Dark-sky observing becomes more satisfying when the goal is not simply to find the darkest possible place, but to understand what darkness changes. Pick a target, choose a setting that supports it, and write down what the sky and your eyes actually allowed you to see. That record will make the next choice more informed than a darker-looking horizon alone.